Prompt Chaining for UI: Build Complex Pages Step-by-Step
So you've tried to generate a complete landing page with one prompt. And it came out looking like a design fever dream—random spacing, components that don't match, and CSS that fights itself. You're not bad at prompting. The approach is

So you've tried to generate a complete landing page with one prompt. And it came out looking like a design fever dream—random spacing, components that don't match, and CSS that fights itself.
You're not bad at prompting. The approach is wrong.
Prompt chaining for UI generation is the technique that changed everything for me. Instead of asking AI to build a complete page in one shot (which almost never works), you break it into sequential prompts where each output feeds the next. It's how experienced vibe coders ship full pages that actually look cohesive.
Key Takeaways:
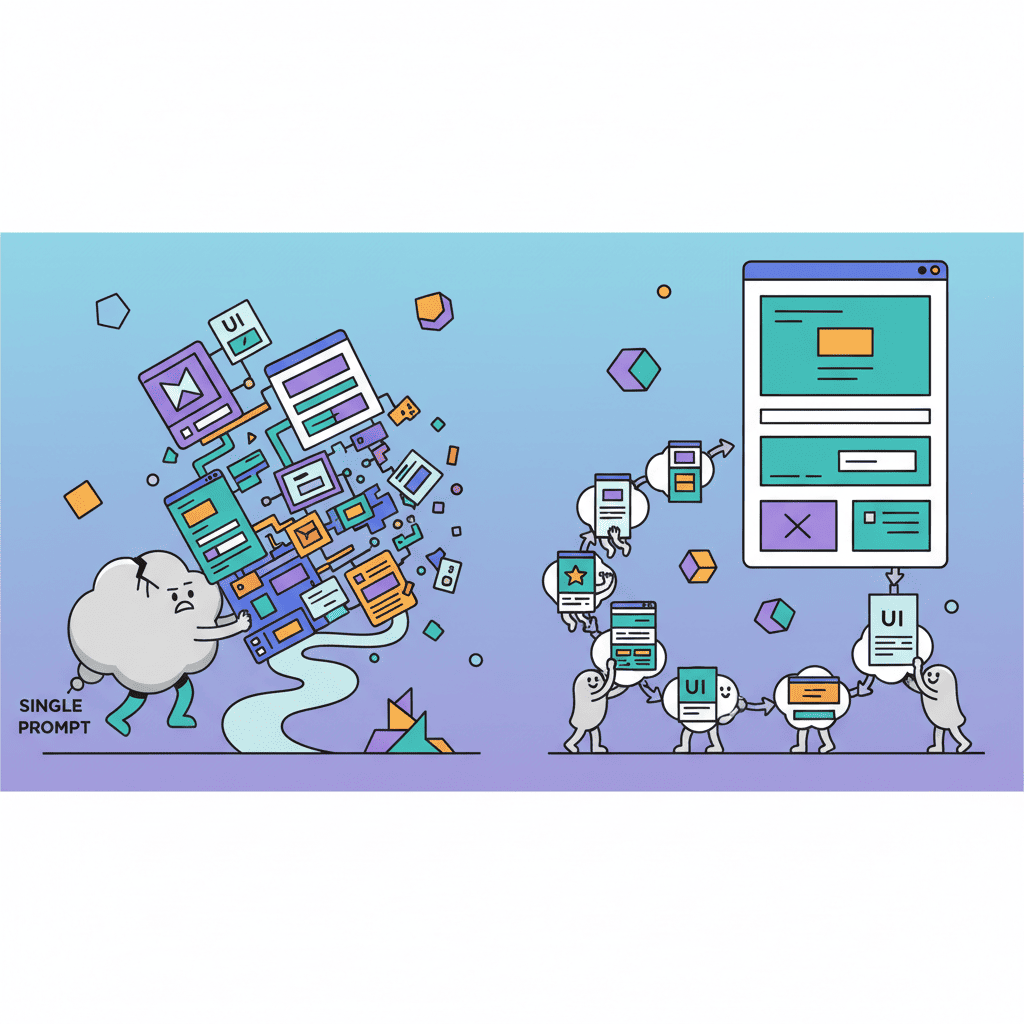
- Single prompts fail for multi-section pages—prompt chaining fixes this
- The 5-step chain builds structure → hero → sections → integration → polish
- Each prompt should reference the previous output explicitly
- This workflow cuts revision cycles by 60-70%
In This Article
- Why Single Prompts Fail for Complex UIs
- What is Prompt Chaining?
- The 5-Step UI Chain Workflow
- Real Example: Building a SaaS Landing Page
- Common Mistakes
- Copy-Paste Templates
- FAQ
Why Single Prompts Fail for Complex UIs
Here's the thing nobody tells you: AI models have a "coherence horizon." Ask them to generate too much at once, and the pieces stop fitting together. I've tested this extensively.
A single prompt works fine for:
- One component (a navbar, a card, a form)
- Two or three simple, related elements
- Small utilities and widgets
A single prompt falls apart for:
- Full landing pages (5+ sections)
- Multi-component dashboards
- Anything requiring consistent design language across many parts
Why? Because by the time the model reaches section five, it's lost track of the design decisions from section one. The colors drift. The spacing changes. The typography gets inconsistent. You end up playing whack-a-mole with CSS fixes.
This is what I call the "coherence cliff"—and prompt chaining is how you avoid it entirely.
What is Prompt Chaining for UI Generation?
Prompt chaining breaks a complex task into a sequence of smaller prompts, where each step builds on the previous one. For UI, it looks like this:
Each prompt:
- Focuses on one concern (layout, then content, then styling)
- References previous output explicitly
- Maintains constraints established in earlier steps
The magic is in the handoffs. Instead of "build me a landing page," you're saying "here's my layout structure, now add a hero section that fits these constraints."
This approach aligns with how the AI coding workflow mastery framework works—incremental progress with clear checkpoints.
The 5-Step UI Chain Workflow
I've refined this workflow over 50+ complex page builds. These five steps work for landing pages, dashboards, multi-section apps—anything with more than three components.
Step 1: Layout and Structure Prompt
Start with the skeleton. No visual design yet—just the bones.
The Prompt:
Why this works: You establish the page architecture before any design decisions. The AI now has a map to follow.
What you get: A clean component tree with clear section markers. This becomes your reference for every subsequent prompt.
Step 2: Hero Section Prompt
Now add your first real content—the hero section. This sets the visual tone.
The Prompt:
Why this matters: The hero establishes your color palette, spacing rhythm, and button styles. Every following section will reference these decisions.
For more hero-specific templates, check out the AI hero section prompts guide—it covers 25+ patterns you can chain into this workflow.
Step 3: Content Sections Prompts
Here's where people mess up. They try to generate all sections at once. Don't.
Chain each section individually:
Features Section:
Pricing Section:
Testimonials Section:
The key phrase in every prompt: "Maintain the established design language" or "Match the existing color scheme." This forces the AI to stay consistent.
For landing page-specific patterns, the AI landing page prompts guide has templates that plug directly into this chain.
Step 4: Integration and Styling Prompt
Now you bring it all together. This is the cleanup step.
The Prompt:
This is where the chain pays off. You've built incrementally, so integration is fixing small inconsistencies—not rebuilding from scratch.
Step 5: Polish and Refinement Prompt
The final 10% that separates "fine" from "great."
The Prompt:
This step is about feel. The structure is locked; you're just adding the touches that make it feel premium.
For iteration techniques when something isn't quite right, the prompt iteration cycle guide breaks down how to refine without starting over.
Real Example: Building a Full SaaS Landing Page
Let me show you this workflow in action. I recently built a complete landing page for a project management SaaS using this exact chain.
Chain Execution:
| Step | Prompt Focus | Time | Revisions Needed |
|---|---|---|---|
| 1. Structure | Page skeleton with 7 sections | 2 min | 0 |
| 2. Hero | Headline, CTA, product image | 5 min | 1 minor |
| 3. Features | 6-feature grid with icons | 4 min | 0 |
| 4. Pricing | 3-tier pricing table | 4 min | 1 (card shadows) |
| 5. Testimonials | 3 customer quotes | 3 min | 0 |
| 6. Integration | Spacing and color fixes | 3 min | 0 |
| 7. Polish | Animations, hover states | 4 min | 0 |
Total time: 25 minutes for a complete, shippable landing page.
Compare this to my old approach—one giant prompt, then 45 minutes of debugging CSS conflicts and inconsistent spacing. The chain isn't just cleaner; it's faster.
Want to try this yourself?
Common Prompt Chaining Mistakes
I've made all of these. Save yourself the pain.
Mistake 1: Skipping the Structure Step
"I'll just start with the hero and figure out the layout later."
No. The structure step takes 2 minutes and saves 20. Without it, sections end up with conflicting container widths and you're debugging wrapper elements instead of building features.
Mistake 2: Not Referencing Previous Output
Each prompt must acknowledge what came before. Phrases like:
- "Using the structure above..."
- "Matching the hero section's color palette..."
- "Maintaining the spacing rhythm established in previous sections..."
Without these references, the AI treats each prompt as independent. You get drift.
Mistake 3: Combining Too Many Steps
"I'll just do features AND pricing AND testimonials in one prompt to save time."
This defeats the entire purpose. The moment you batch multiple sections, you're back to coherence problems. One section per prompt. Period.
Mistake 4: Changing Design Decisions Mid-Chain
You decided on indigo-600 in the hero. Now in the pricing section, you think blue-500 might look better.
Don't. Finish the chain with your original decisions. Change the color palette in a single refactoring pass at the end, not mid-build. Otherwise you'll spend more time hunting down color inconsistencies than you saved.
Mistake 5: Ignoring Mobile at Each Step
Every section prompt should include "responsive" or "mobile-first." Don't assume the AI will remember from step 1. If you're getting desktop-only output, check out the AI mobile responsive prompts tutorial for patterns that work.
Prompt Chain Templates to Copy
Here's a complete template set you can adapt for any landing page:
Template 1: Structure Chain Starter
Template 2: Section Builder (Use for Each Section)
Template 3: Integration Pass
Template 4: Polish Pass
You Might Also Like
- AI Coding Workflow Mastery - The complete workflow guide that this chaining technique fits into
- Fix AI-Generated Code Errors - When your chained output has bugs, here's how to fix them fast
- 5 Steps to Fix Any AI UI - The iteration cycle that helps when any step in your chain goes wrong
Frequently Asked Questions
What is prompt chaining for UI generation?
Prompt chaining is breaking a complex UI task into a sequence of smaller prompts, where each step builds on the previous output. Instead of asking AI to generate a full page at once (which usually fails), you generate structure first, then add sections one at a time, then integrate and polish. Each prompt explicitly references what came before.
How many prompts should be in a UI chain?
For a standard landing page (5-7 sections), expect 7-10 prompts: one for structure, one per major section, one for integration, one for polish. Dashboards with more components might need 12-15 prompts. The number doesn't matter as much as keeping each prompt focused on one thing.
Can I use prompt chaining with any AI tool?
Yes. This workflow works with any AI code generation tool—Fardino, Cursor, v0, ChatGPT with Code Interpreter, Claude, or anything else. The technique is about how you structure requests, not which tool executes them. The key is maintaining context between prompts, which most modern tools handle well.
Why not just use one detailed prompt?
I've tested this extensively. Single prompts work for simple, single-component tasks. For anything with 5+ interconnected sections, the model loses coherence. Colors drift, spacing becomes inconsistent, and components don't visually relate to each other. Chaining solves this by giving the AI one focused job at a time while maintaining design constraints across the sequence.
How long does a full prompt chain take?
For a complete landing page, expect 20-30 minutes with 5-10 prompts. This sounds slower than "one prompt," but the one-prompt approach typically requires 30-45 minutes of debugging and revision. Chaining is faster when you factor in the revision cycles you avoid.
Written by the Fardino Team. We build AI tools for frontend developers. Build with Fardino →
Got an idea? Build it now.
Describe the site or app you want — Fardino turns it into a live website.