Let's get something out of the way: generating e-commerce UI with AI is harder than landing pages. Way harder.
I spent the last two weeks testing over 40 AI e-commerce UI prompts across different tools. Most of the output looked like it was designed by someone who's never actually bought anything online. Generic product cards. Checkout flows that would make users bounce. Cart UIs that forgot basic things like quantity selectors.
But some prompts worked. Really worked. The kind of output you'd actually ship to a client or use in your own store.
This guide is everything I learned. You'll get copy-paste prompts for product cards, detail pages, shopping carts, and checkout flows that generate results worth using.
Key Takeaways:
- E-commerce UI needs conversion-focused prompts—generic "make it pretty" doesn't cut it
- Always specify interactive states (hover, loading, empty cart, out of stock)
- Product cards need trust signals: reviews, badges, shipping info
- Checkout flows require explicit multi-step logic or you'll get a mess
In This Article
- Why E-commerce UI Is Different
- Product Card Prompts That Convert
- Product Detail Page Prompts
- Shopping Cart UI Prompts
- Checkout Flow Prompts
- E-commerce Navigation Prompts
- Common Mistakes and Fixes
- Complete Mini-Project
- FAQ
Why E-commerce UI Is Different
Here's my hot take: landing page prompts and e-commerce prompts are fundamentally different animals.
Landing pages are about storytelling. You guide users through a narrative. E-commerce UI is about transactions. Users need to find products, understand them quickly, trust them, and buy without friction.
When you write a vague prompt like "create a product page," AI has no idea if you want:
- A minimal luxury brand aesthetic
- A high-conversion Amazon-style layout
- A fashion boutique with image galleries
- A tech product with spec tables
The result? Something generic that works for nothing.
E-commerce UI also has states that landing pages don't:
- Out of stock indicators
- Sale/discount badges
- Size/color variant selectors
- Quantity controls
- Review ratings
- Trust badges (shipping, returns, security)
Miss any of these in your prompt, and you'll get an incomplete UI that needs heavy fixing.
The fix is specificity. Let's get into the prompts.
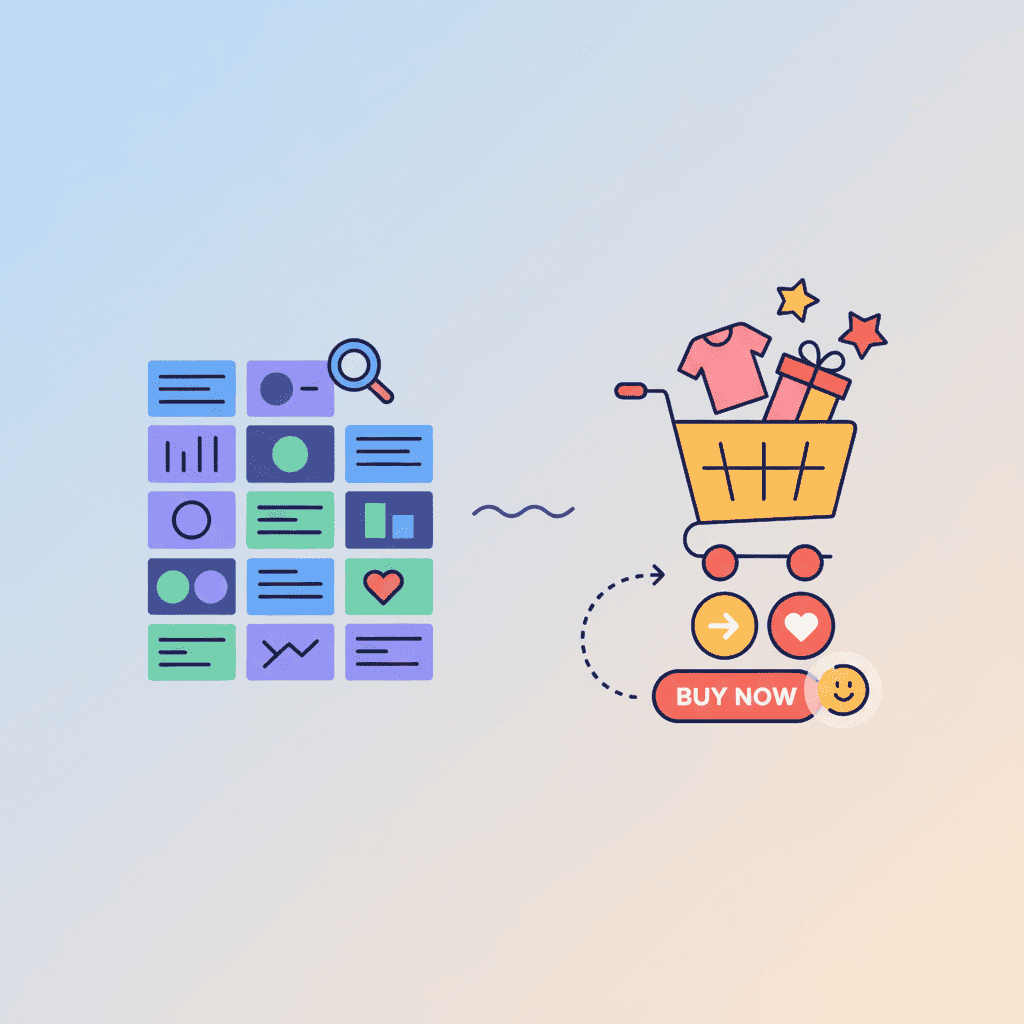
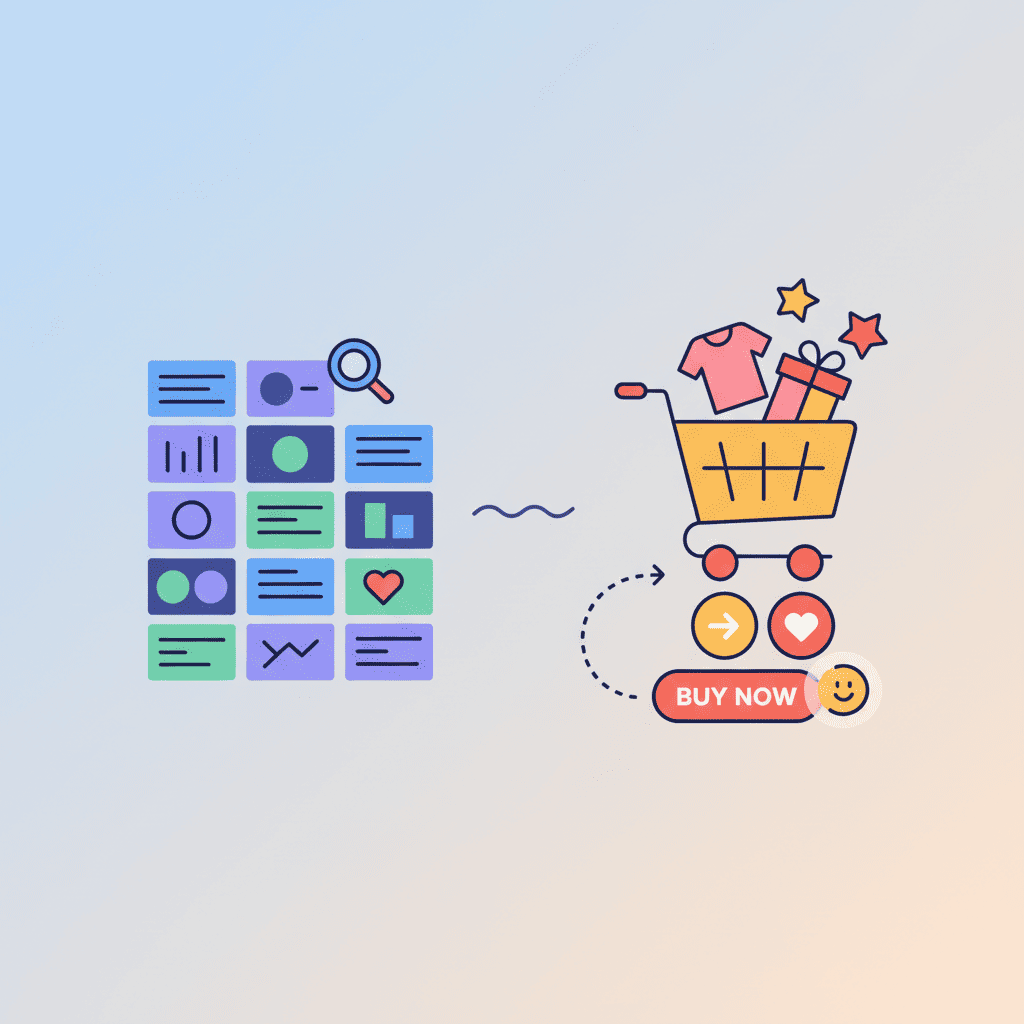
Product Card Prompts That Convert
Product cards are the bread and butter of e-commerce. They appear in category pages, search results, recommendations, and homepages. Get them wrong, and your conversion rate tanks.
The Basic Product Card That Works
Prompt:
This generates a solid foundation. But here's what most people miss:
Product Card with Trust Signals
Want to try this yourself?
Try this prompt⌘+Enterto launch
Product Card Variants Quick Reference
| Use Case | Key Elements to Add |
|---|---|
| Fashion | Size selector preview, color swatches, "New Arrival" badge |
| Electronics | Spec highlights, "Compare" checkbox, warranty badge |
| Food/Grocery | Weight/quantity, expiry indicator, dietary badges (vegan, organic) |
| Luxury | Minimal design, no discount badges, "Exclusive" text |
Product Detail Page Prompts
Product detail pages (PDPs) are where purchasing decisions happen. They need more complexity than cards: image galleries, variant selection, detailed descriptions, and social proof.
Full Product Detail Page Prompt
This is detailed, but e-commerce pages need it. Compare this to a lazy prompt like "create a product page" and you'll see why specificity matters.
The Reviews Section (Don't Skip This)
If you've read our AI form prompts guide, you know that breaking complex UIs into sections generates better results. Same principle applies here.
Shopping Cart UI Prompts
Shopping carts have more states than people realize. Empty cart. Single item. Multiple items. Items out of stock. Updated quantities. Removed items.
Here's how to prompt for carts that actually work:
Slide-Out Cart Drawer
Want to try this yourself?
Try this prompt⌘+Enterto launch
Full Cart Page
For dedicated cart pages (not just drawers), add:
This generates a professional cart page similar to what you'd see on major e-commerce sites.
Checkout Flow Prompts
Checkout is where money changes hands. It's also where most AI-generated UIs fall apart because checkout has complex logic: form validation, payment integration, shipping options, and multi-step flows.
Here's the thing—you can't generate working Stripe or payment integrations with AI UI prompts. But you can generate the UI structure that your backend will plug into.
Multi-Step Checkout UI
That's a lot—but checkout flows are a lot. If you don't specify each step, AI will give you a single-page mess or skip crucial elements.
Single-Page Checkout (Simpler Alternative)
If you want something faster:
Single-page checkouts convert better for low-cart-value stores. Multi-step works better for complex purchases. Pick based on your use case.
E-commerce Navigation Prompts
Navigation on e-commerce sites is different from SaaS or blogs. You need category menus, search bars, cart icons with counts, and user account dropdowns.
E-commerce Header
For more navigation patterns, check out our AI landing page prompts guide—the header section applies to e-commerce too.
Common Mistakes and Fixes
After testing dozens of e-commerce prompts, here's what goes wrong most often:
| Mistake | Why It Happens | Fix |
|---|---|---|
| Missing hover states | AI defaults to static UI | Add "include hover effects for buttons, cards, and interactive elements" |
| No loading states | Forgot to specify async actions | Add "show loading spinner when Add to Cart is clicked" |
| Generic product images | AI generates placeholders | Specify "use placeholder images from unsplash.com/photos/product" |
| Broken mobile layouts | Desktop-first prompts | Always add "Mobile: [specific layout instructions]" |
| Missing empty states | Only described filled states | Add "Empty state: show X when cart/wishlist is empty" |
| No accessibility | Not specified | Add "include aria labels, keyboard navigation, focus states" |
Here's a pro tip: after generating your initial UI, run a second prompt: "Review this component for missing states: loading, error, empty, disabled. Add them."
If you're new to thinking about edge cases in prompts, our vibe coding best practices guide covers this in depth.
Complete Mini-Project: Full Product Page
Let's tie it all together. Here's a workflow to generate a complete product page:
Step 1: Generate the Product Card
Start with the product card prompt from earlier. Test it in isolation.
Step 2: Generate Product Detail Section
Use the PDP prompt. Make sure image gallery and variant selectors work.
Step 3: Add Cart Integration
Generate the cart drawer. Add state management to track items.
Step 4: Build Checkout
Generate checkout flow. Connect to cart data.
Step 5: Refine and Connect
Use follow-up prompts like:
- "Add a 'Quick Add' modal that appears when clicking Quick View on product cards"
- "Make the cart icon in header show real-time item count"
- "Add success toast when item is added to cart"
This iterative approach—building section by section—gives you better results than trying to generate an entire e-commerce site in one prompt. If you've read about context engineering, you know why: smaller context, better output.
You Might Also Like
- Build Your Portfolio with AI: 20+ Prompts That Work - Same prompt-first approach for portfolio sites
- Build a Startup Landing Page with AI - Complementary guide for marketing pages
- 10 Vibe Coding Mistakes That Kill Your Projects - Common errors to avoid when generating e-commerce UIs
Frequently Asked Questions
What are the best AI e-commerce UI prompts?
The best AI e-commerce UI prompts are specific about conversion elements: trust signals (reviews, badges), interactive states (hover, loading, out of stock), and clear visual hierarchy. Generic prompts generate generic output. Include exact dimensions, color specifications, and all UI states in your prompts.
How do I generate product pages with AI?
Break the product page into sections: image gallery, product info, variant selectors, add-to-cart area, and reviews. Generate each section with detailed prompts specifying dimensions, states, and interactions. Then combine them with a layout prompt. This modular approach produces better results than one massive prompt.
Can AI generate working checkout flows?
AI can generate the UI/frontend for checkout flows, but not actual payment processing. You'll get forms, step indicators, and validation UI—but Stripe, PayPal, or payment gateway integrations require backend code. Use AI prompts for the frontend structure, then connect it to your payment backend.
What should I include in shopping cart prompts?
Shopping cart prompts need: item display (image, name, variant, quantity, price), quantity controls, remove buttons, subtotal calculation, shipping estimates, promo code input, and—critically—empty cart state. Also specify the cart style: drawer/slide-out vs. full page.
Why do my AI e-commerce UIs look generic?
Generic prompts produce generic output. Most AI e-commerce UI prompts fail because they don't include: trust signals (shipping badges, return policy), specific interactive states, conversion-focused CTAs, or proper mobile layouts. Add these details and your output improves dramatically.
Written by the Fardino Team. We build AI tools for frontend developers. Build with Fardino →